5th September 2020
Busy week again at work, but I finally got the first panel assembled yesterday. Whilst I have access to a stencil printer that uses framed stencils, some time ago I had this tooling block made so that I could use frameless solder paste stencils as an option (frameless stencils can be a lot small and cheaper to ship) :
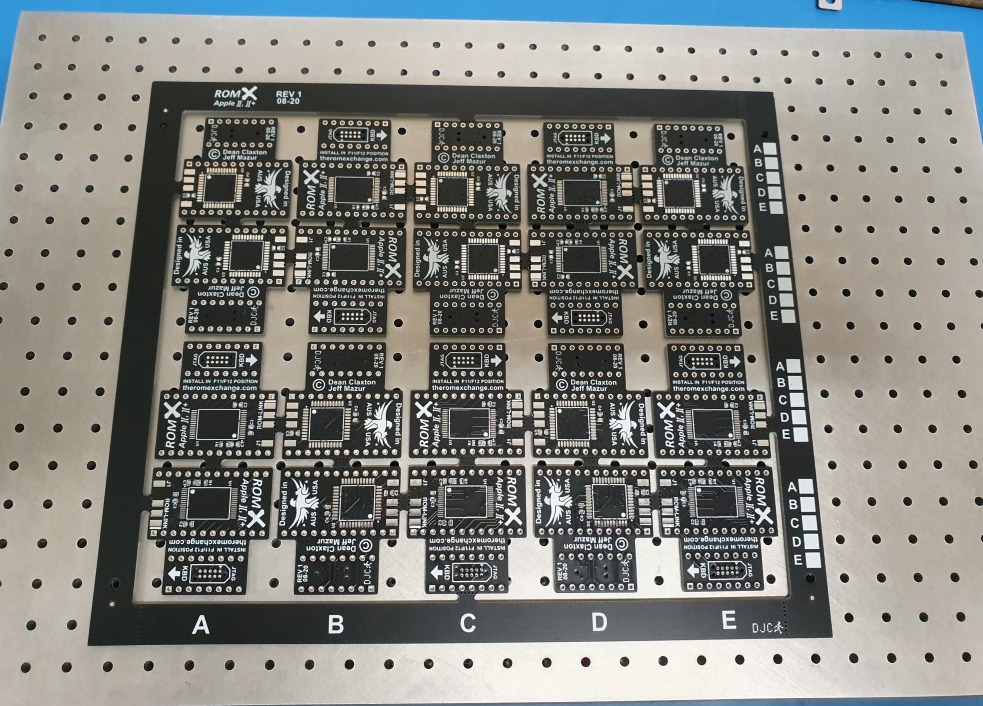
It's a slab of 16mm aluminum with (rather a lot of) 2.5mm holes drilled at 10mm spacing. When I design a PCB panel I just ensure that my tooling holes are spaced at a multiple of 10mm. To create the stencil, I copy the tooling holes from the drill file into the solder paste gerber files. That way when they laser cut the stencil, the tooling holes are present.
Then its just a matter of placing the PCB down, positioning the stencil on top, and inserting 2.5mm stainless pins through the tooling holes and into the block to hold everything in place :
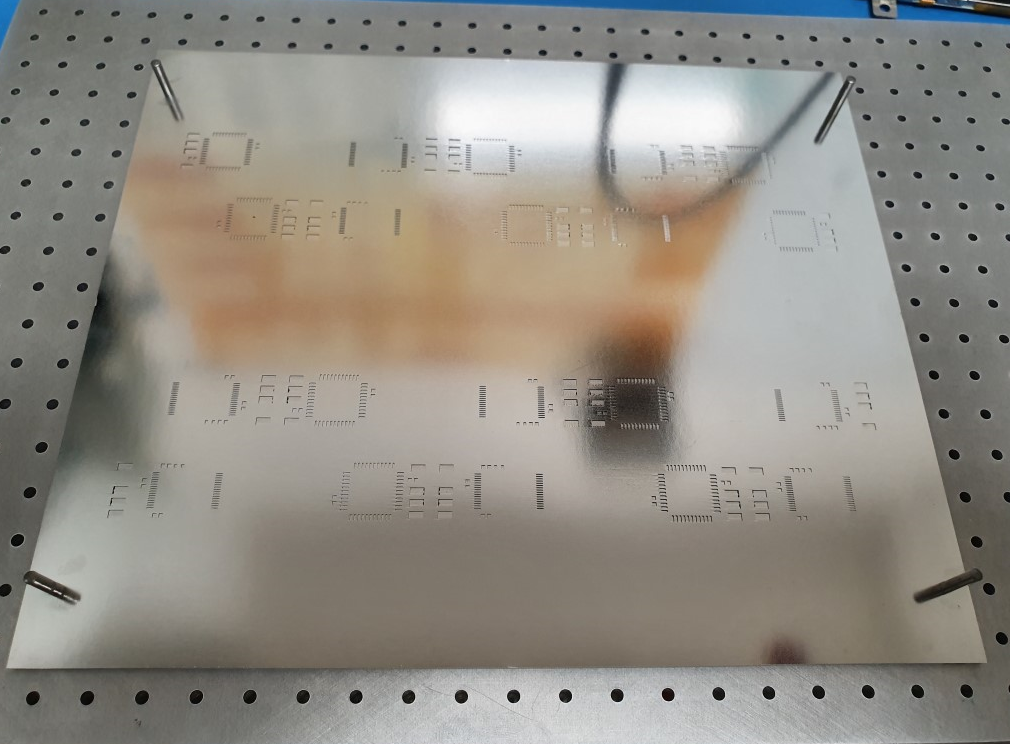
Solder paste is applied with a squeegee, the stencil removed, and the components placed. For this one I hand placed them :
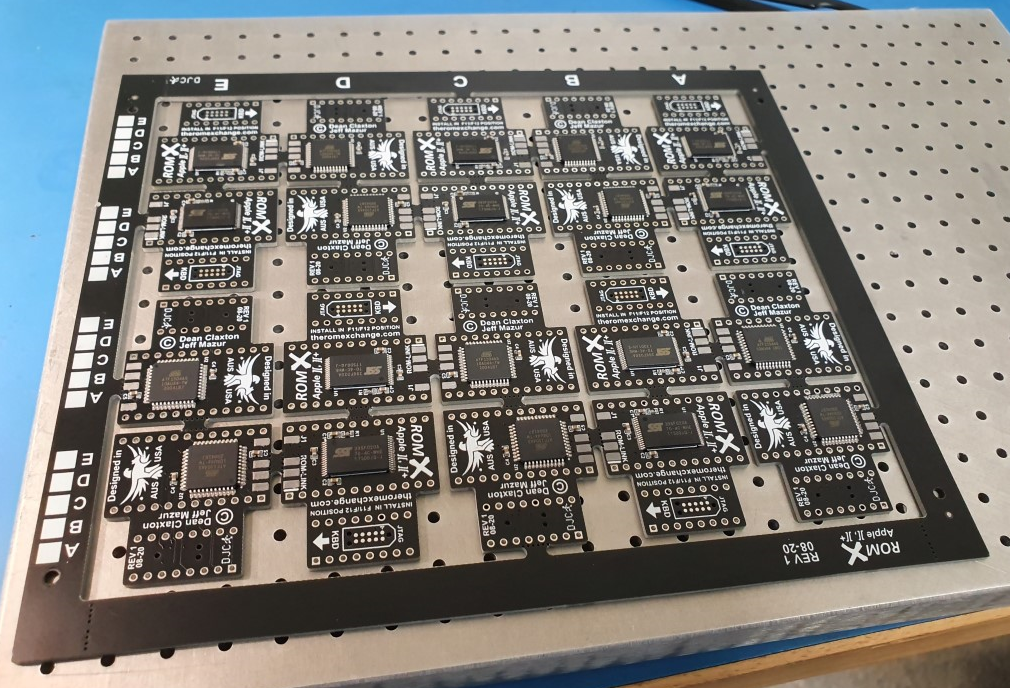
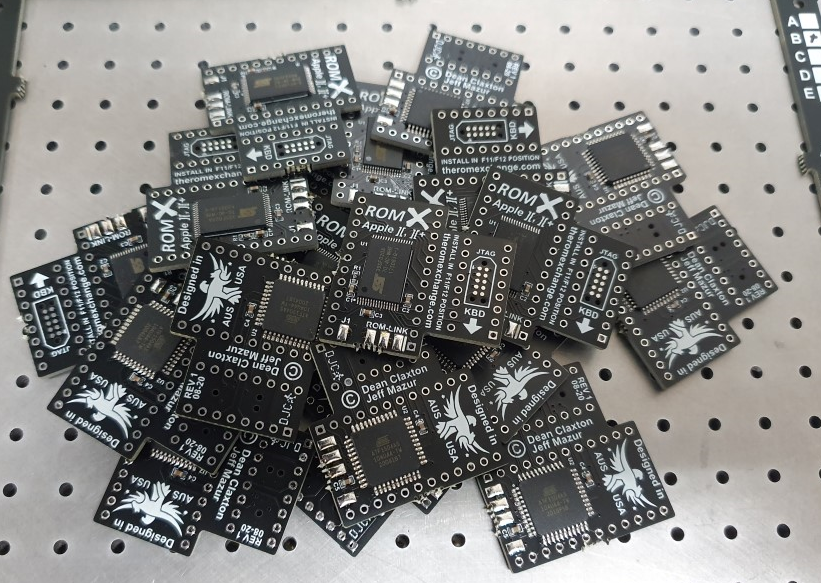
The panel then goes into a reflow oven and the parts get soldered down. This board is loaded on both side so the process is repeated for the other side of the panel. Finally I check the panel for any solder bridges (repairing them as I go) and then break out the individual boards :
This link gives an excellent overview of the process.
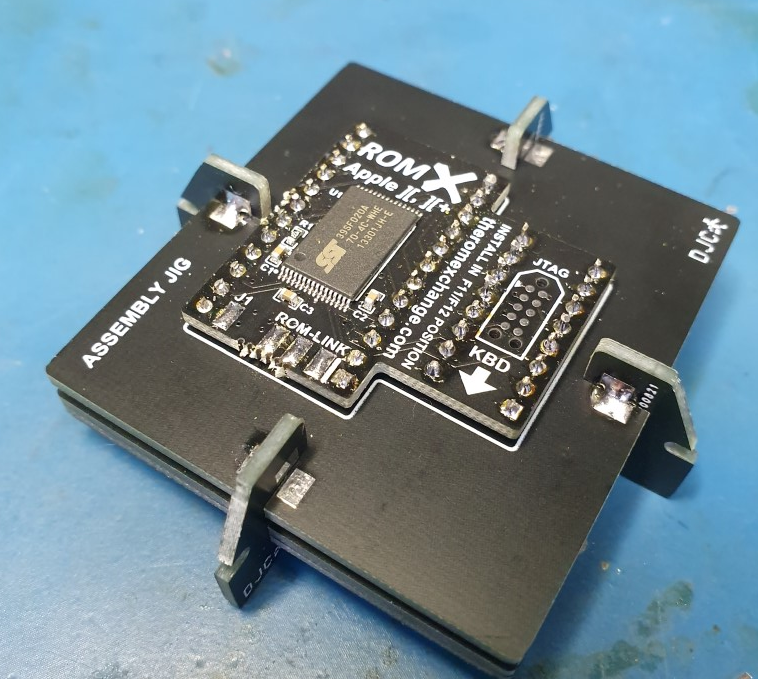
Today I did a test assembly of the first production board using the jig to install the pin headers :
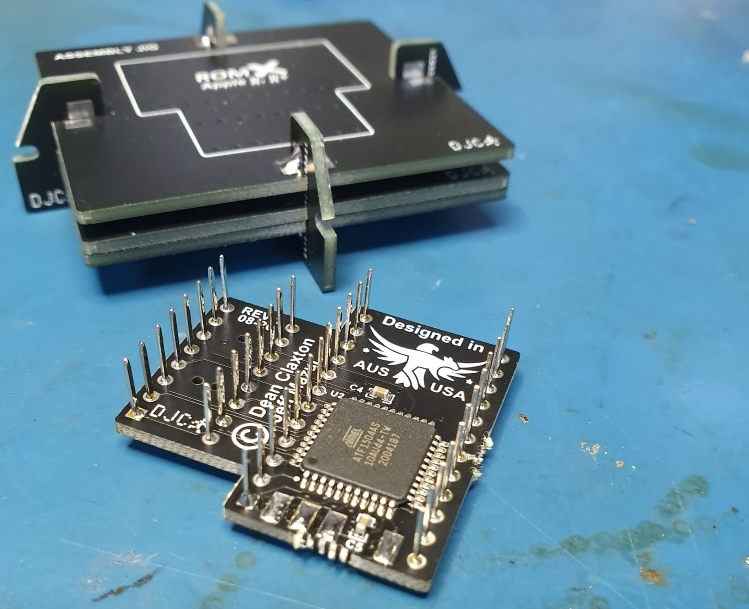
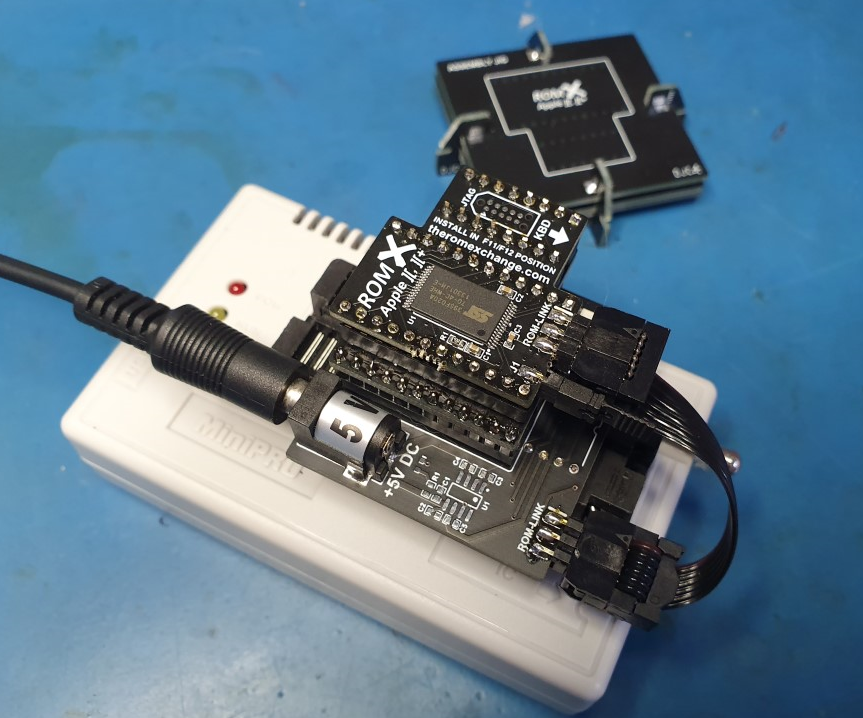
I assembed a programming adapter (less the 12V charge pump components as I'm waiting for the chips to arrive) and programmed the first production board using the flash image I created a few days back :
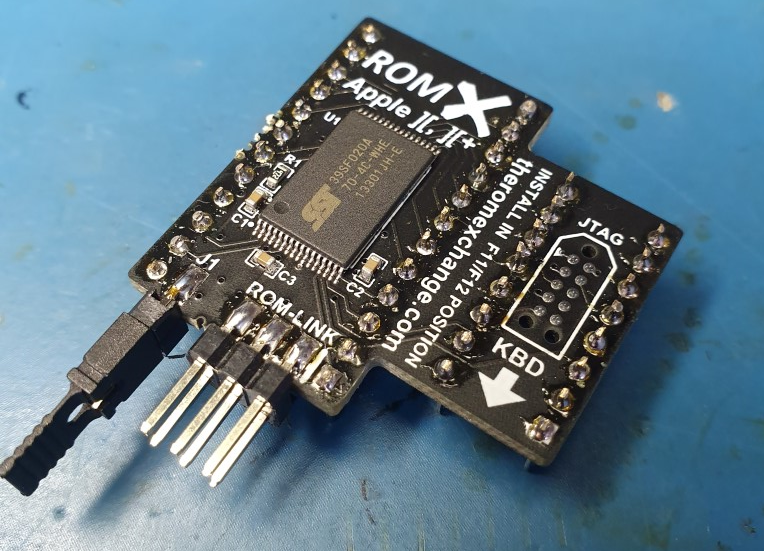
This is what the board will look like if you order one - note the long-tail recovery jumper which makes it nice and easy to get a grip:
The good news is that the production board works as expected :-) Since I have machine pin sockets in the F11/F12 positions on my motherboard, I had to use a machine pin to dual wipe socket adapter to test this new ROM X board in my machine (you can just make out the adapter underneath - the ROM X board is actually offset 0.125" to the right due to the adapter) :
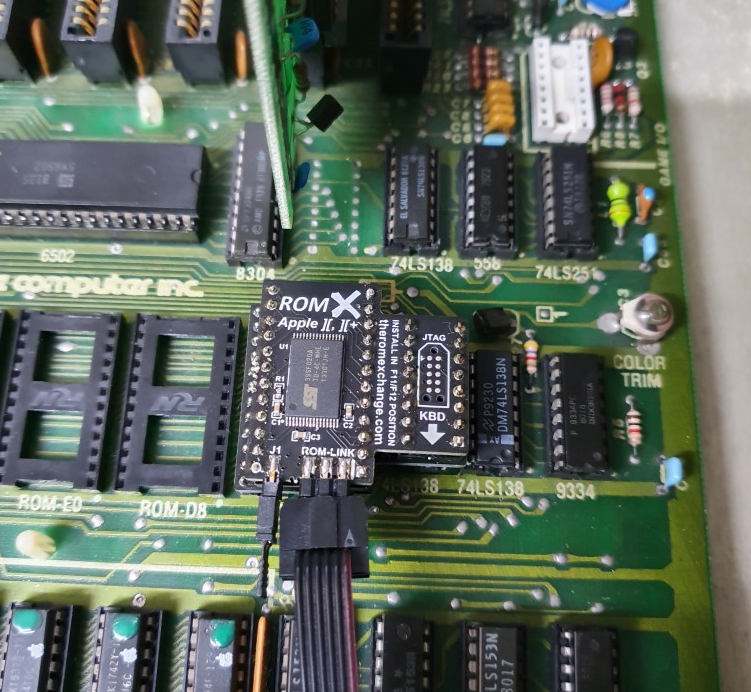
We'll also be offering the board with machine pin headers for those who may have replaced their sockets with machine pin versions, or built up a motherboard kit using them. If you want machine pins please ask when you order your board(s).
Super close now!! I just need to install the pins on the rest of the first batch of boards, plus build up some text ROM boards. I'm waiting on antistatic bags, but we should be ready to start taking orders this week. In the next couple of days I'll be contacting those who have emailed me requesting a board to be reserved. I'm planning to send a bunch of them to Jeff in the USA so that he can distribute them to US buyers to help with the shipping costs.
